| Analytics , SAP HANA ,

HANA Web Dispatcher comes with a self-signed SSL certificate that makes the connection insecure. In this blog, we have outlined the step by step process to create an SSL certificate using OpenSSL and import it into SAP HANA web dispatcher
Step 1: Install OpenSSL
Step 2: Navigate to OpenSSL/bin folder and open command prompt and set the Variable path using the command below
set OPENSSL_CONF=C:\OpenSSL\bin\openssl.cfg (Mention path according to your OpenSSL installed path)
set RANDFILE=.rnd (Run this command as it is)

Step 3: Create a “.\demoCA” directory in OpenSSL/bin folder. Create another directory newcerts in “.\demoCA” directory
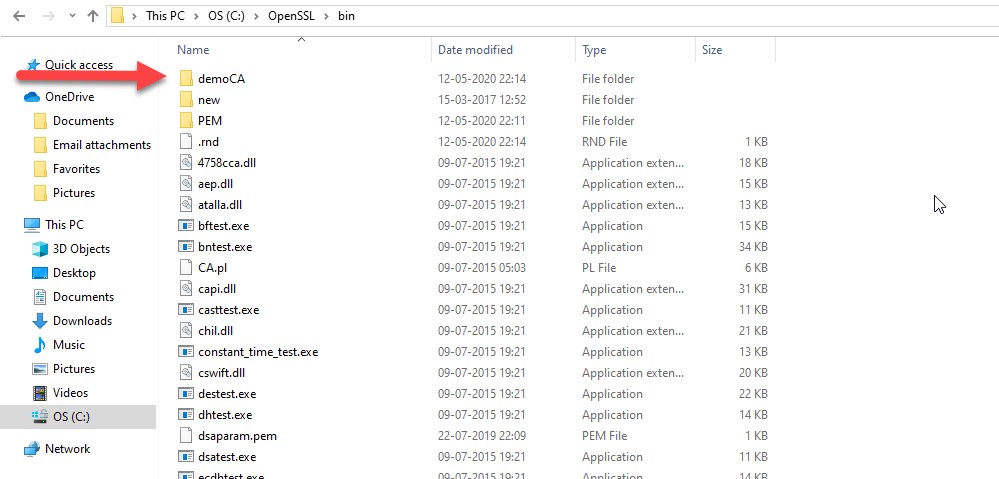
Step 4: Copy .\bin\pem\democa\serial to .\demoCA
Step 5: Create an empty index.txt file via notepad .\demoCA\index.txt
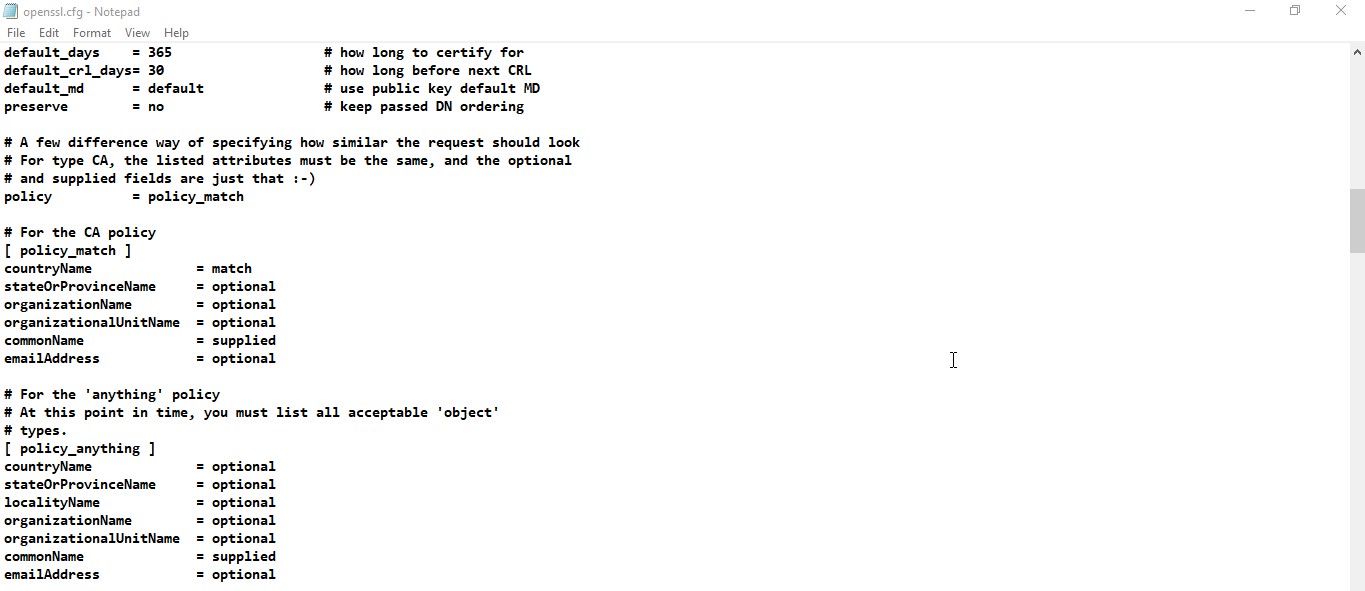
Step 6: Change organizationName = optional in .\bin\openssl.cfg. Check the screen shot below for the updated config file
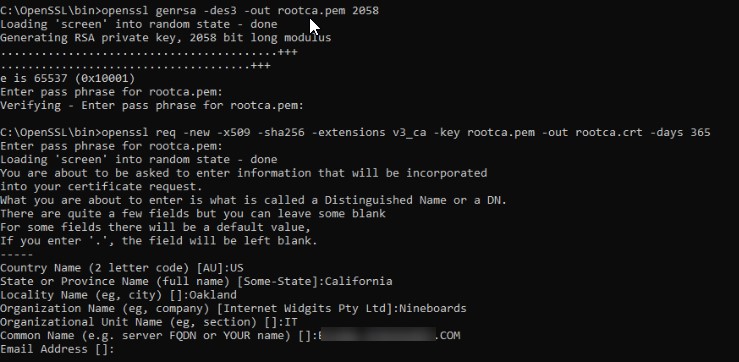
Step 7: Navigate to OpenSSL Bin folder and run the commands below:
To create your own secure 4096 bit private key –
openssl genrsa -des3 -out rootca.pem 4096
To Create your secure SHA-256 root CA certificate –
openssl req -new -x509 -sha256 -extensions v3_ca -key rootca.pem -out rootca.crt -days 365
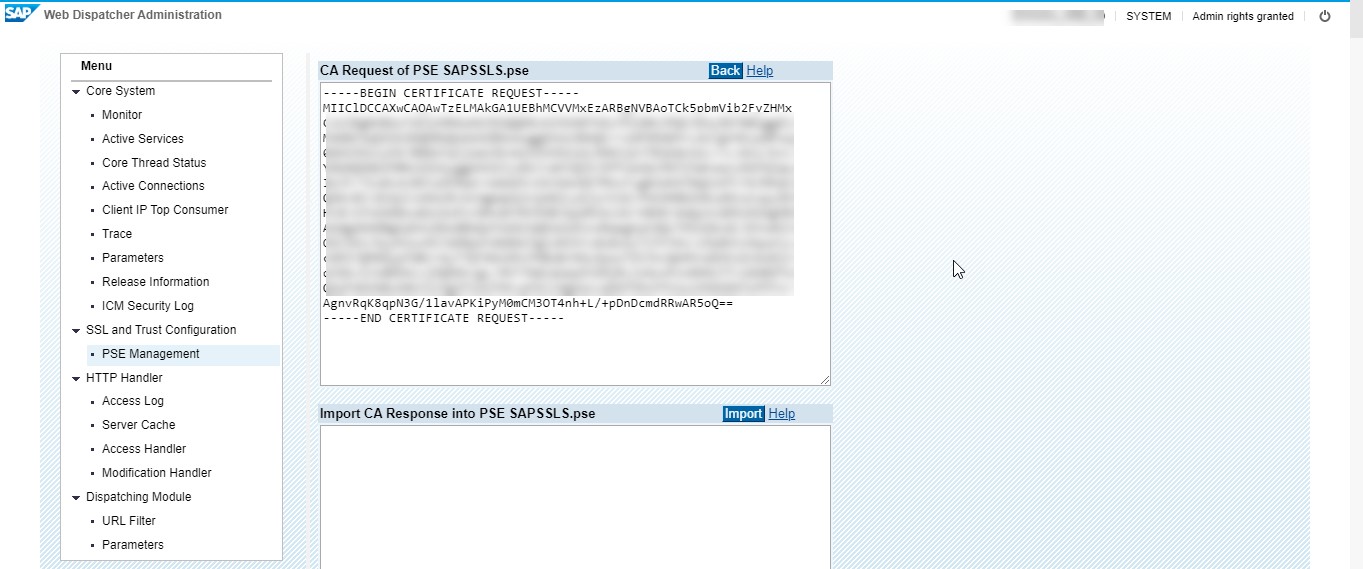
Step 1: Create a CA request in HANA web dispatcher page. Copy and paste the request in notepad and save it as “sslreq.csr”. Copy the “sslreq.csr” to ../OpenSSL/bin folder
Step 2: Sign the certificate by using the command below
openssl ca -cert rootca.crt -keyfile rootca.pem -out sslreq.crt -infiles sslreq.csr
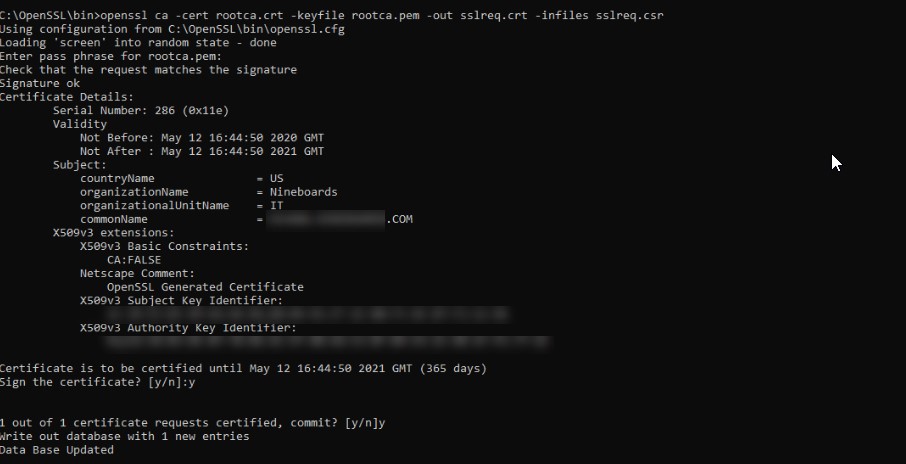
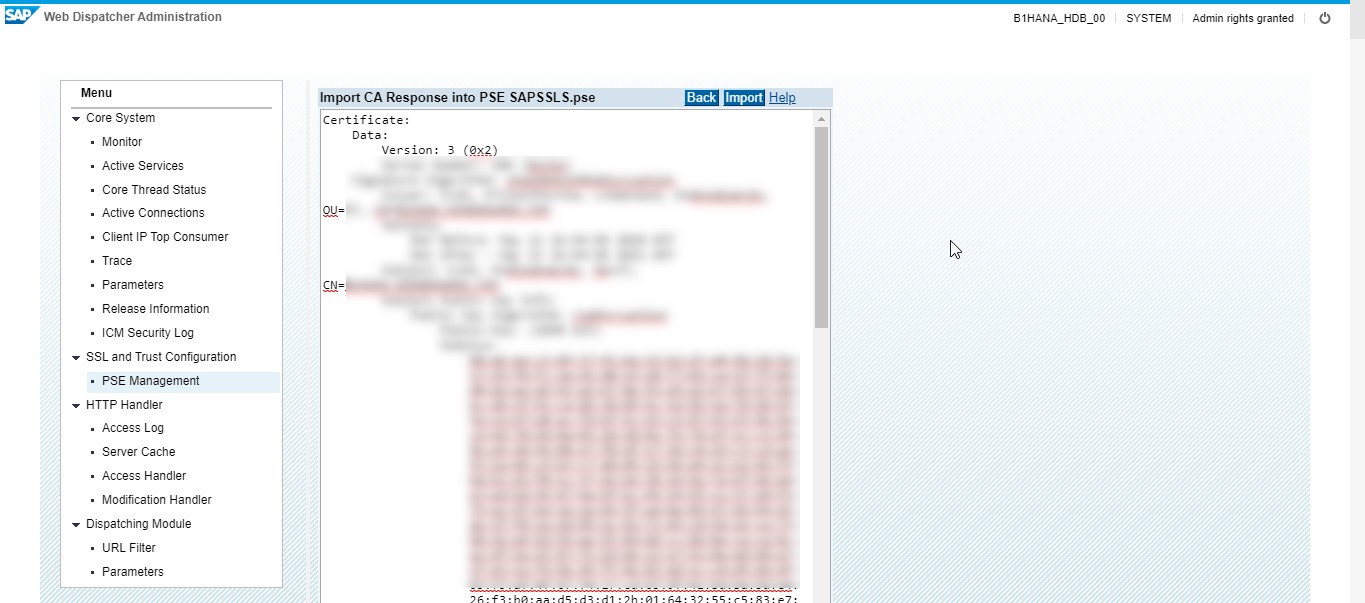
Step 3: crt and sslreq.crt files will be created in ../OpenSSL/bin folder. Open the sslreq.csr and rootca.csr in a text editor copy and paste the content in the web dispatcher to import CA response. Click on import.
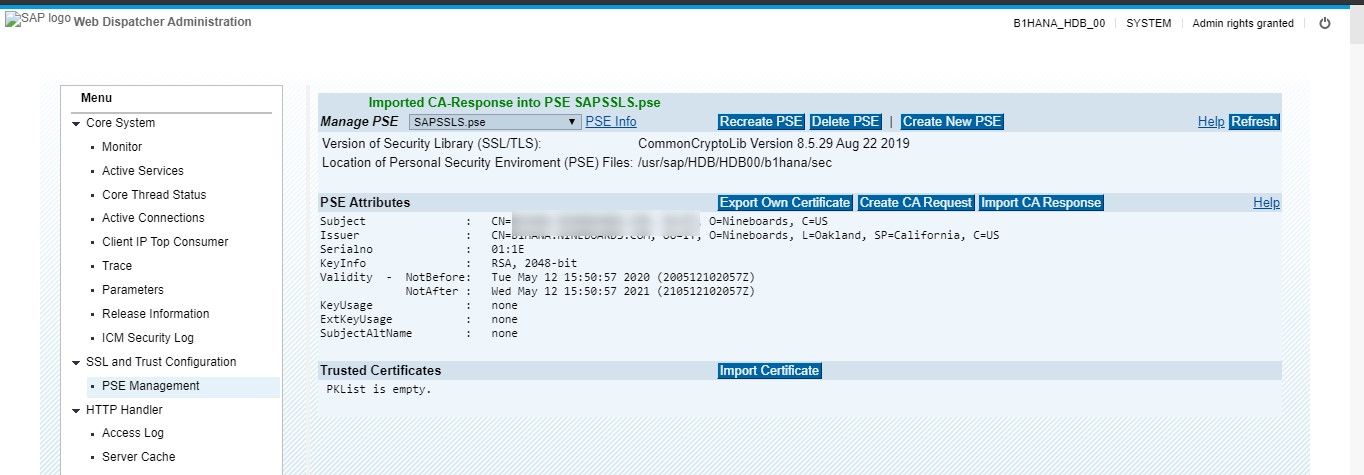
Step 4: Import the rootca.crt file created in ../openssl/bin folder to the browser (Recommended browser – Firefox)
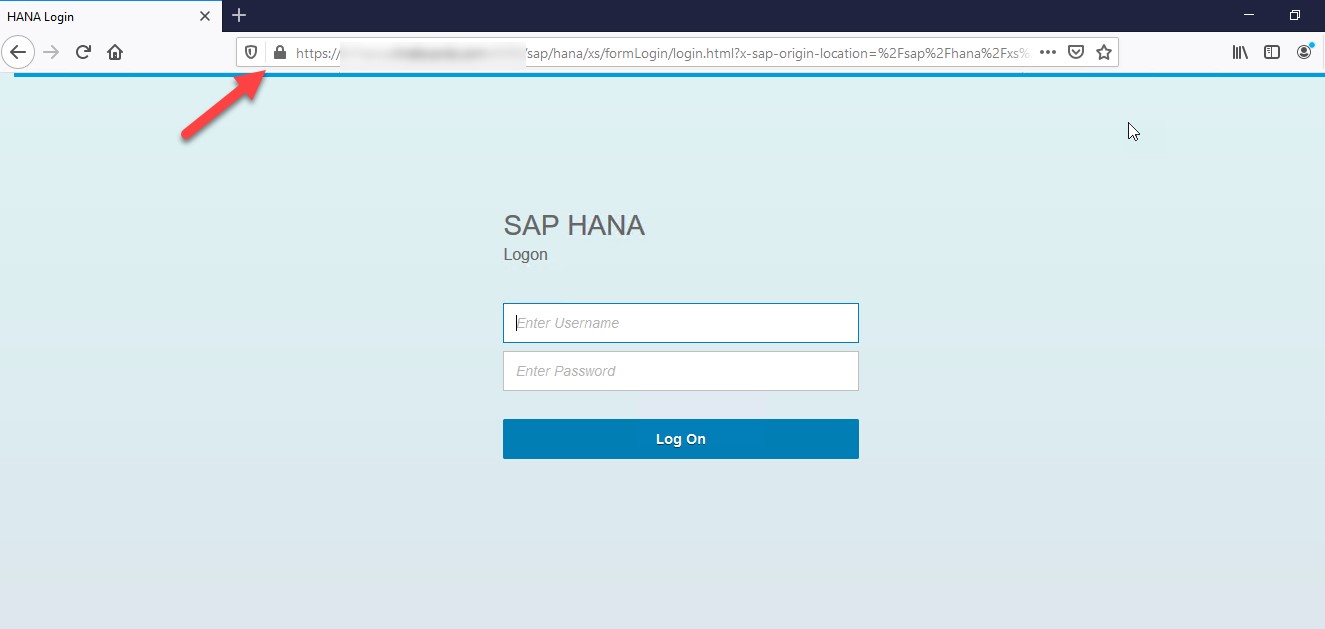
With these settings, the HANA Web Dispatcher connection is secure. Here on, whenever we login to SAP HANA, a window will appear asking for the user credentials.