Installation of SAP Business One 10.0 version for SAP HANA
by Srikanth Madhunantuni | Analytics , SAP Business One ,
Introduction
This blog post mainly walk’s you through the installation steps and prerequisites software needed to be installed for business one installation and commands to start the business one services manually.
Prerequisites
Operating system SUSE Linux 15 SP1
HANA Database 2.0
HANA AFLClient 2.0
HANA Client 2.0
Steps to install the business one server components
Business one installation need graphical user interface to get the GUI install VNC server.
install VNC server using the command
After installing use the below Commands to start VNC server
Download VNC viewer in windows
Enter the <IP-ADDRESS>:2 in VNC search box
Download SAP Business One 10.0 Version for SAP HANA.
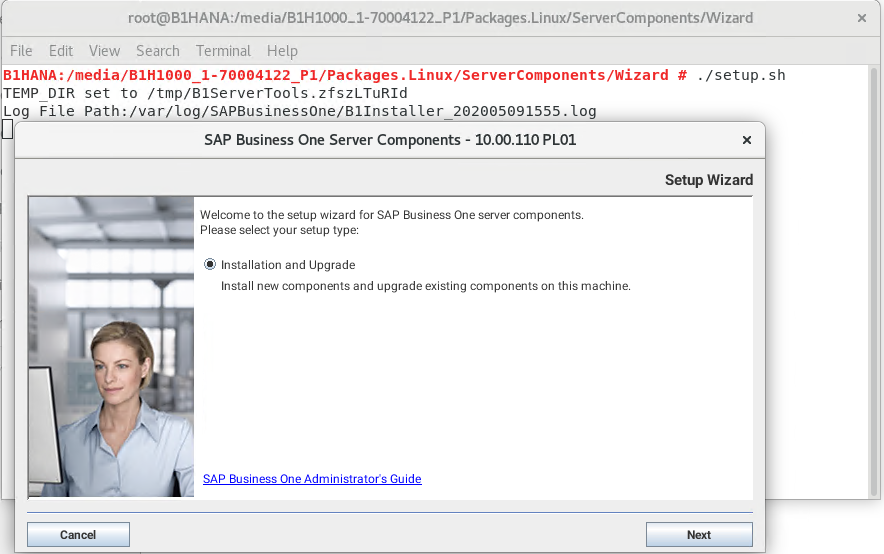
-unzip the file navigate to /Pacakges.Linux/ServerComponents/Wizard
-Run ./setup.sh file
- The setup process begins. In the welcome window of the setup wizard, choose
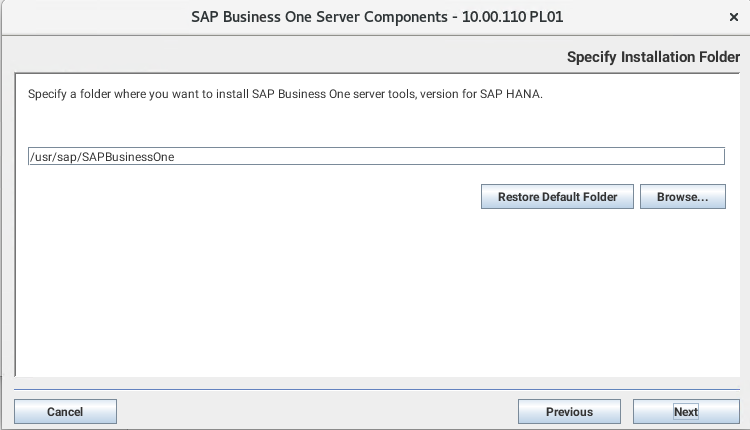
- In the Specify Installation Folder window, specify a folder in which you want to install the server components and choose Next.
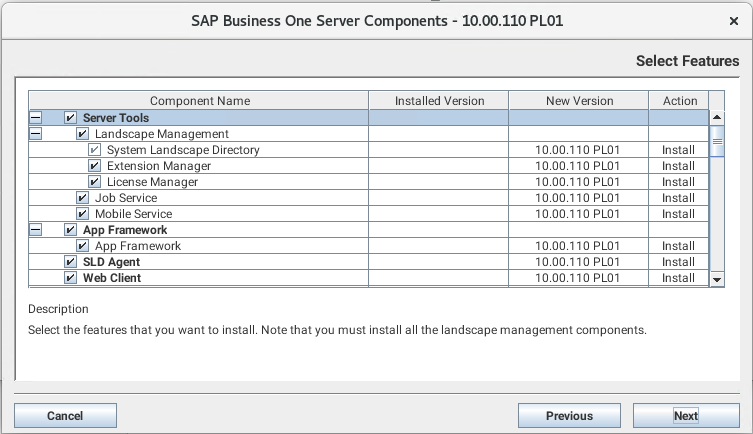
- In the Select Features window, select the features that you want to install, and choose Next. You must install the System Landscape Directory and the license manager for landscape management.
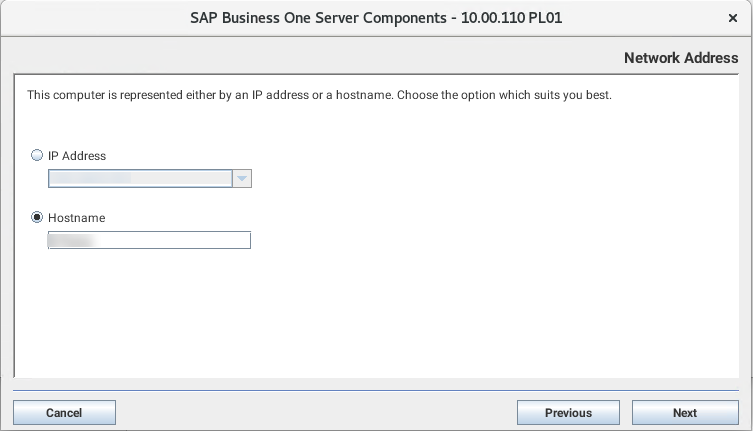
- In the Network Address window, select an IP address or use the hostname as the network address for the selected components.
- Note that if you install the SAP Business One components on the SAP HANA server machine and intend to connect to a local SAP HANA instance, you must use the same IP address as the SAP HANA instance.
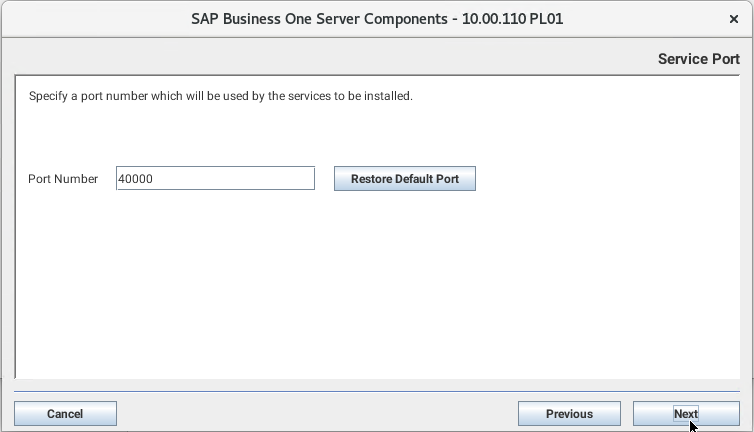
- In the Service Port window, specify a port number that is to be used by all of the services (except for the app framework, Service Layer and Web Client components) and choose The default port number is 40000.
- If you have installed a firewall on the server on which you install the server tools, make sure that the firewall is not blocking the port number you use for the services.
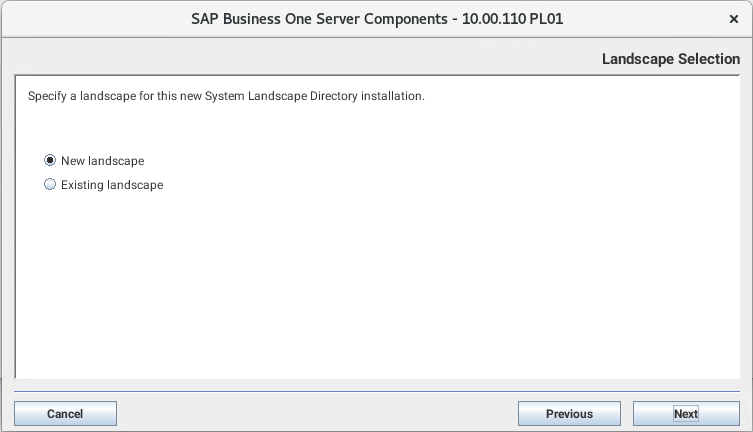
In the Landscape Selection window, specify a type of landscape installation. Choose one of the options:
- New landscape: Create a new landscape
- Existing landscape: Connect to the existing landscape
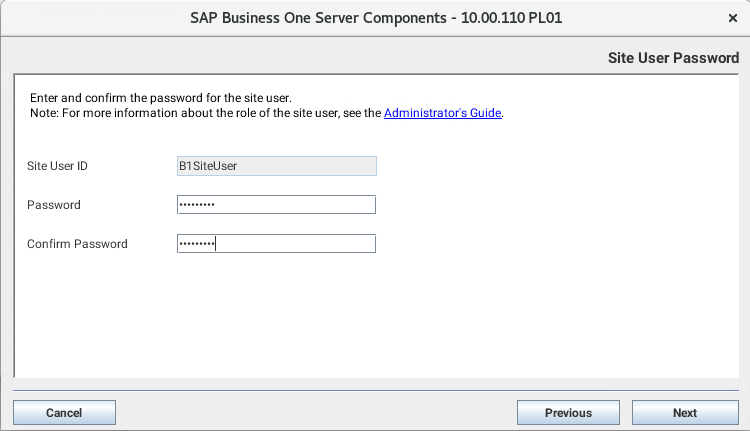
- In the Site User Password window, create a password for the site user (B1SiteUser) and confirm the password. Then choose
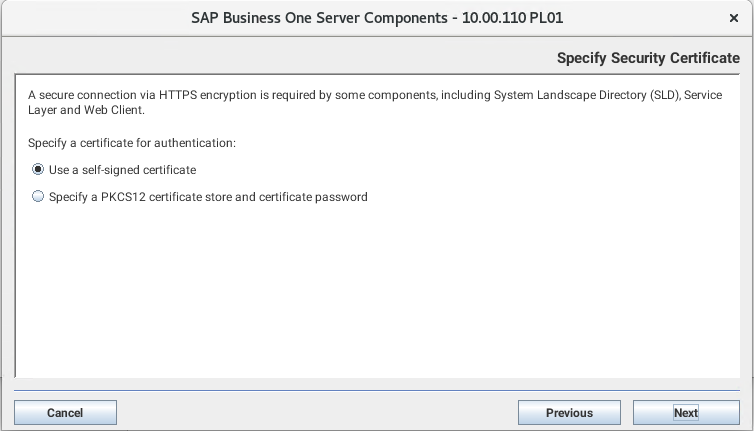
- In the Specify Security Certificate window, specify a security certificate and chooseNext, you can obtain a certificate using the following methods:
- Third-party certificate authority – You can purchase certificates from a third-party global Certificate Authority that Microsoft Windows trusts by default. If you use this method, select the Specify a PKCS12 certificate store and certificate password radio button and enter the required information
- [Not recommended] Generate a self-signed certificate – You can let the installer generate a self-signed certificate; however, your browser will display a certificate exception when you access various service Web pages, as the browser does not trust this certificate. To use this method, select the Use Self-Signed Certificate radio button.
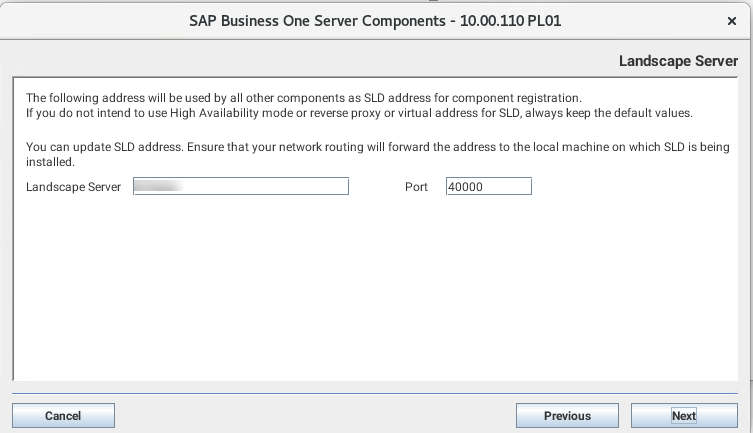
- In the Landscape Server window, enter the network address and port number that will be used by all other components for component registration. If you do not intend to use high availability mode or reverse proxy or virtual address for SLD, always keep the default values.
- In the Shared Folders for System Landscape Directory window, you can choose to create a default CD repository and a central log repository.

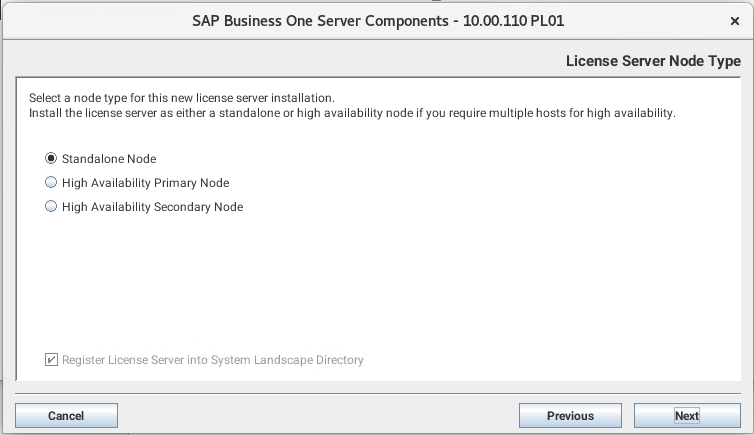
- In the License Server Node Type window, select a node type for the new license server installation.
To enable high availability for the license server, install different instances either as a primary node or as a secondary node.
- Register License Server into the System Landscape Directory: Register the license server into the System Landscape Directory during the installation process. Different node types have different requirements for the registration.
- When you select Standalone Node, registration during the installation process is mandatory.
- When you select High Availability Primary Node, you can choose to register the license server now or later from the SLD control center.
- When you select High Availability Secondary Node, you cannot register the license server.
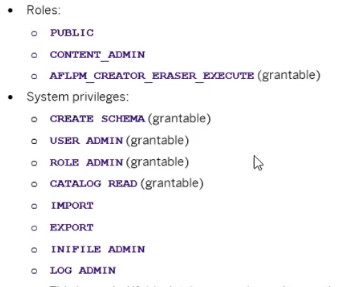
- Need to create B1ADMIN user in HANA Database with below roles
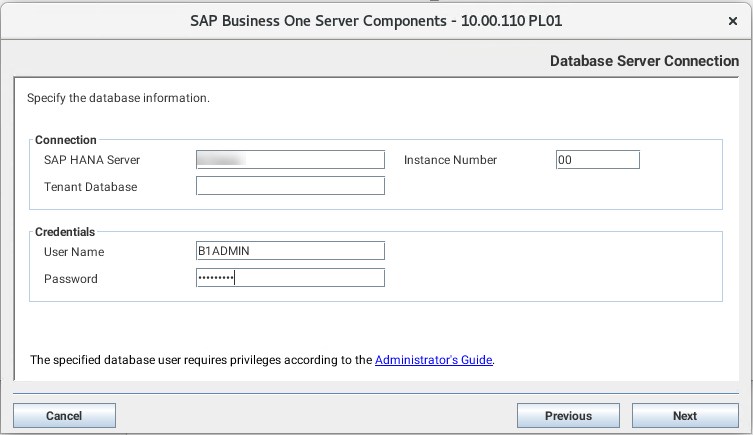
In the Database Server Connection window, specify the following information and then choose Next:
- SAP HANA Server: Enter the SAP HANA server address (full hostname or IP address).
- Instance Number: Enter the instance number for your SAP HANA database.
- Tenant Database: Enter the name of the tenant database which you intend to use.
- Username and Password: Specify a tenant database user and enter the user password
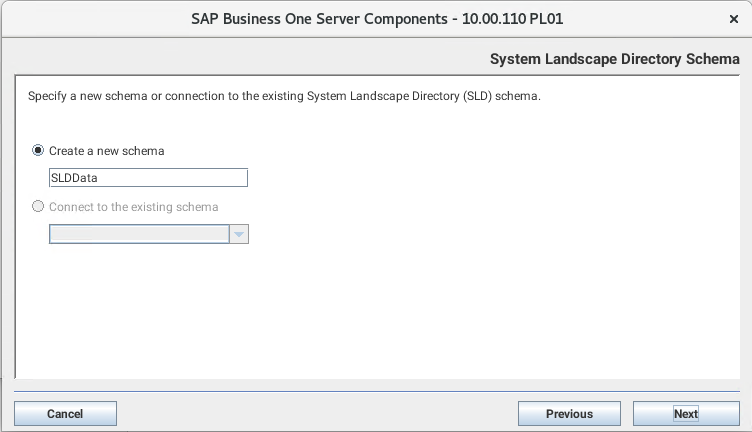
- In the System Landscape Directory Schema window, specify a new SLD schema or connection to the existing SLD schema.
- If you choose to connect to the existing SLD schema, make sure that the existing schema is in the same version as the current wizard. You cannot upgrade the existing SLD schema.
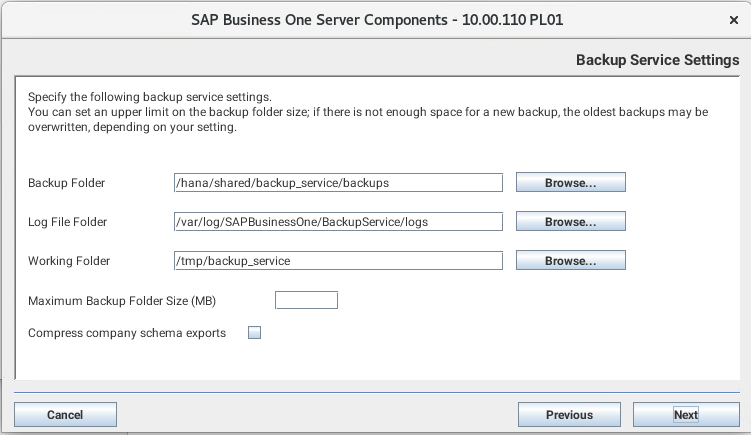
- In the Backup Service Settings window, specify the following settings for the backup service:
- Backup Folder: Specify a folder to store server backups and company schema exports. Each company schema will have a separate subfolder for its exports.
- Log File Folder: Specify a folder to store backup service log files.
- Working Folder: Specify a temporary folder where various backup operations are performed (for example, compressing and decompressing files).
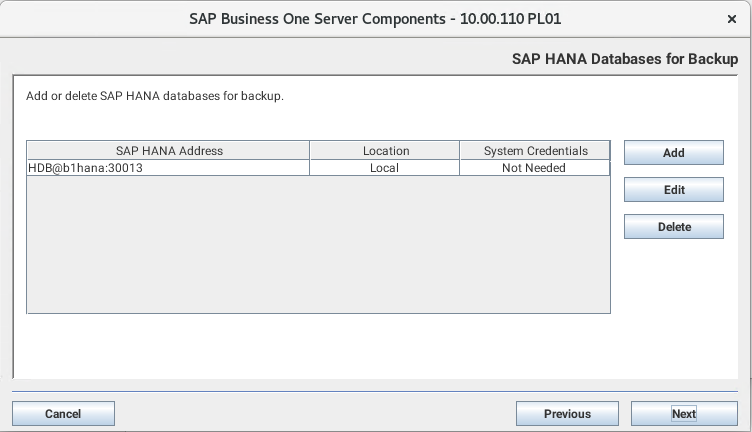
- In the SAP HANA Databases for Backup window, you can add or delete SAP HANA database servers for backup.
- At least one SAP HANA database server must be specified for backup. The SAP HANA database server can be on the same machine (local) as the backup service or on a different machine (remote).
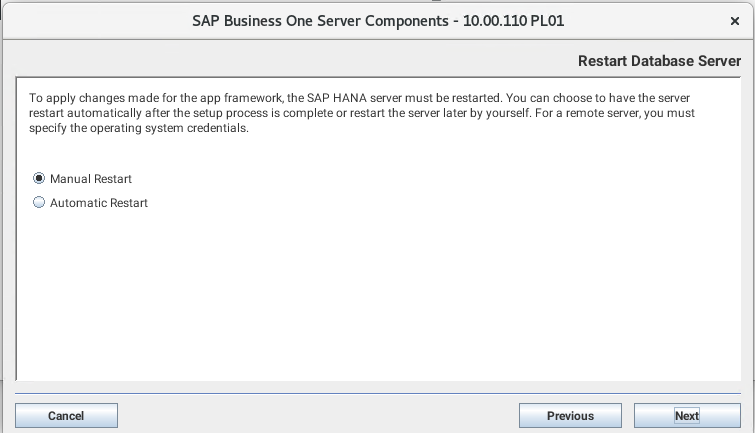
- If you choose to install or upgrade the app framework, the Restart Database Server window appears. Choose one of the following options:
- Manual Restart: Select this option if you want to restart the server on your own. Note that you must restart the SAP HANA server before you begin using the app framework.
- Automatic Restart: Select this option to have the server restarted automatically after the setup process is complete.
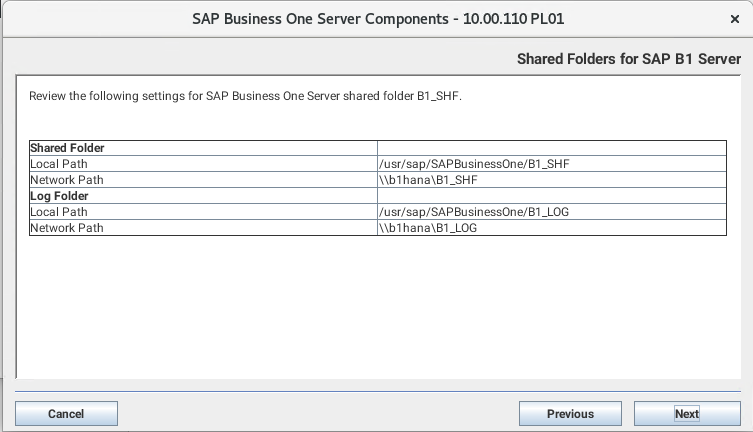
- If you chose to install the SAP Business One Server, the Share Folders for SAP B1 Server windows appear. You can see the paths of the shared folder and those of the log folder.
- In the Samba Service Settings window, you can select to set up AutoStart for the Samba service upon boot.
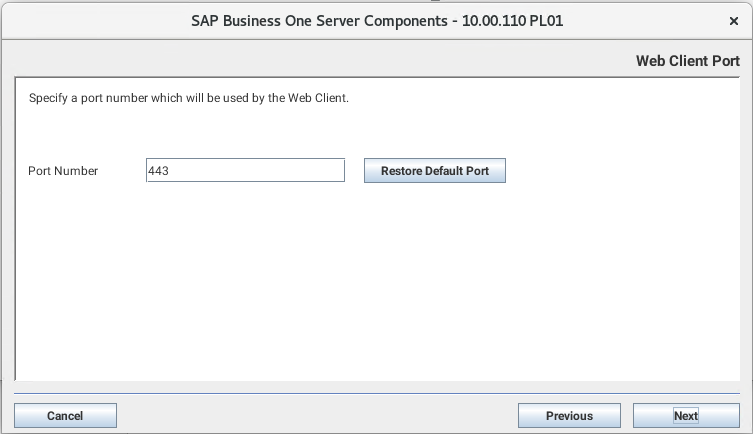
- If you choose to install the Web Client, the Web Client Port window appears. In the Web Client Port window, specify a port number that is to be used by the Web Client component and choose Next. The default port number is 443.
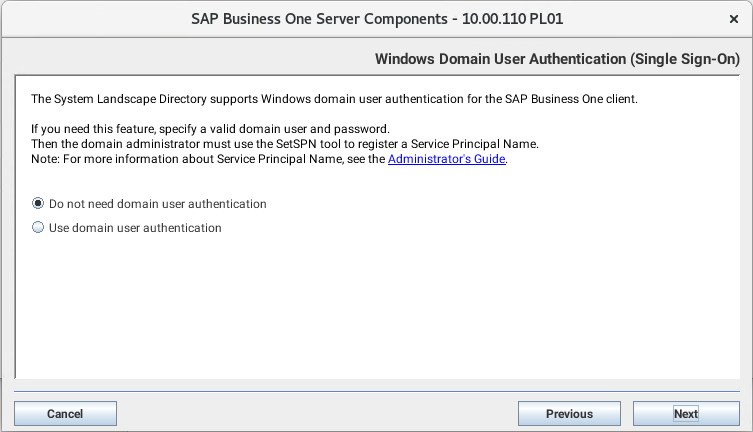
- In the Windows Domain User Authentication (Single Sign-On) window, do one of the following:
- If you want to use the single sign-on function for SAP Business One, version for SAP HANA, select the Use domain user authentication radio button, specify all required information, and choose
- If you have not registered a domain user account as the Service Principal Name (SPN), make sure that the domain user account specified here is the one that you intend to use for SPN registration. For more information, see Enabling Single Sign-On.
- If you do not want to use the single sign-on function, select the Do not need domain user authentication radio button and choose Next.

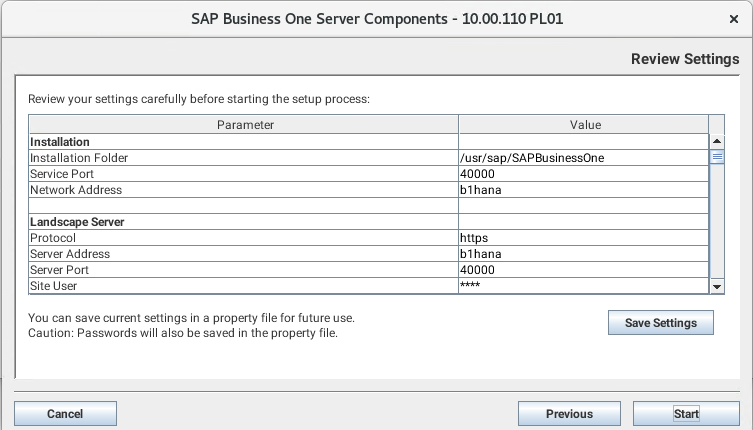
- In the Review Settings window, review your settings carefully before proceeding to execute the installation. If you need to change your settings, choose Back to go to relevant windows; otherwise, choose Install to start the installation.
- If you want to save the current settings to a property file for a future silent installation, choose Save Settings. For more information, see Silent Installation.
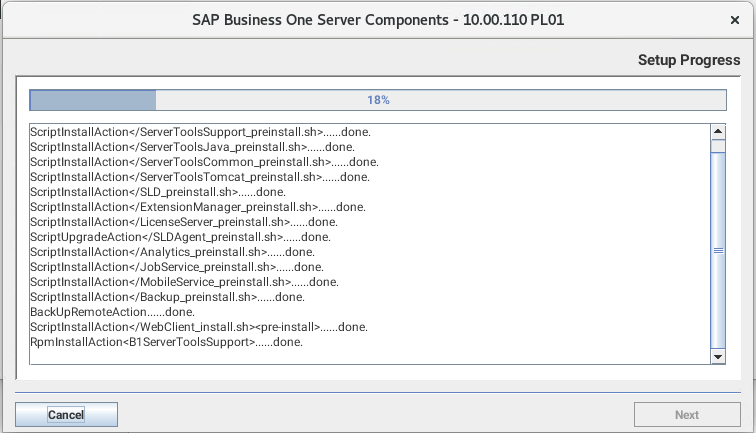
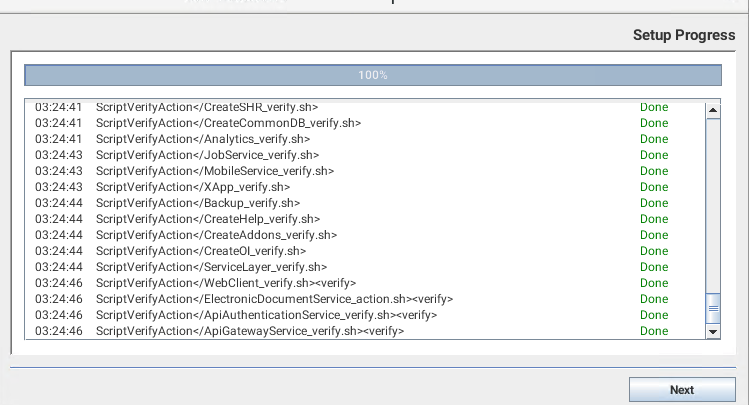
- In the Setup Progress window, when the progress bar displays 100%, proceed with one of the following options:
- If all of the selected components installed successfully, choose Next to finish the installation.
- If one or more components failed to be installed, choose Roll Back to restore the system. After the rollback progress is complete, in the Rollback Progress window, choose Next to finish the installation.
In the Setup Process Completed window, review the installation results showing which components have been successfully installed and which have not.
Commands to start and stop Business One server manually
Navigate to /etc/init.d from root directory and run below commands
- ./sapb1servertools start
- ./b1s start
- ./sapb1servertools stop
- ./b1s stop
I hope this blog post information is helpful. can go through the below links for further reference (S-User needed to access the links)
SAP Business One Administration Guide
https://help.sap.com/doc/4e7c047f2c9e4cbe97800ffaf7b68f8e/10.0/en-US/B1_for_SAP_HANA_Admin_Guide.pdf
SAP HANA Guide
https://help.sap.com/doc/eb75509ab0fd1014a2c6ba9b6d252832/2.0.00/en-US/SAP_HANA_Administration_Guide_en.pdf
Probability Matrix
https://help.sap.com/doc/011000358700000239412011e/9.3/en-US/B1_HANA_Platform_Support_Matrix.pdf
For more information, get in touch with us!