| Analytics , SAP HANA ,

In this blog, we will walk you through a steps by step process on how to expose multiple SAP HANA tables via oData. In order to create an oData service you need to create the following XS components in the repository.
Following are the steps we followed:
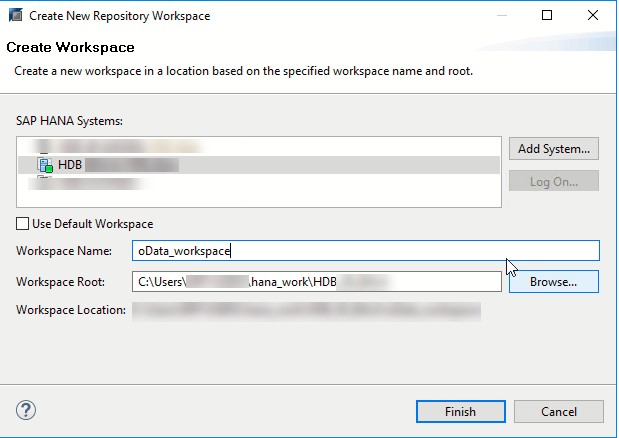
Step 1: To create an oData service, go to “SAP Hana Development” perspective and create a repository workspace.
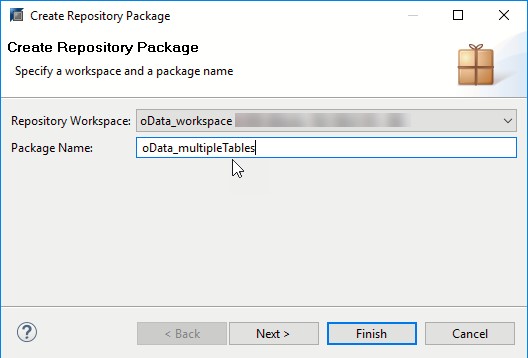
Step 2: Create a package
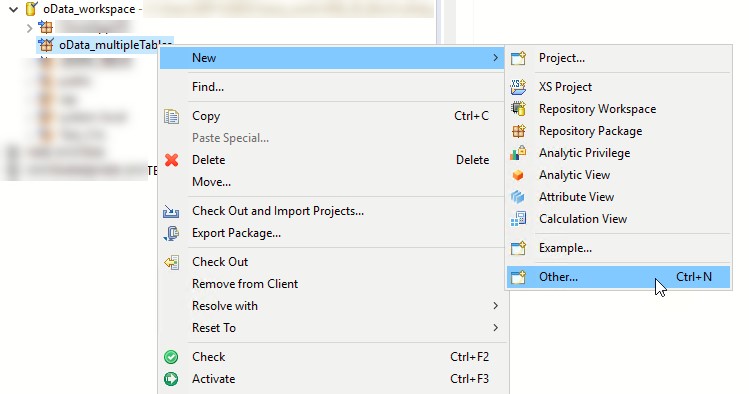
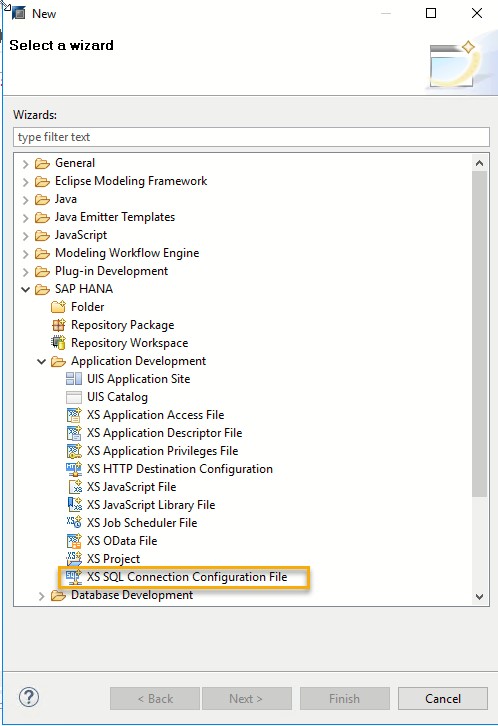
Step 3: Create an XS SQL Connection Configuration File
Repository New > Other > SAP HANA > XS SQL Connection Configured File.

Copy the code below for giving access.
{
“description”:”Anonymous SQL connection”
}
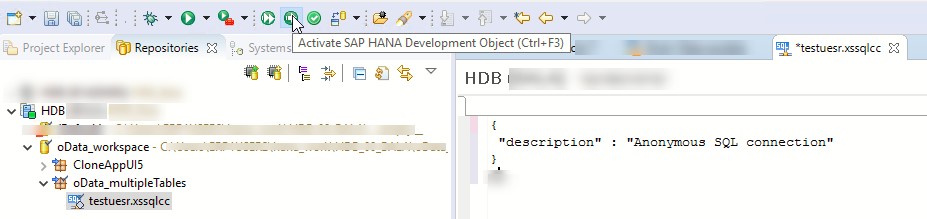
Activate the object
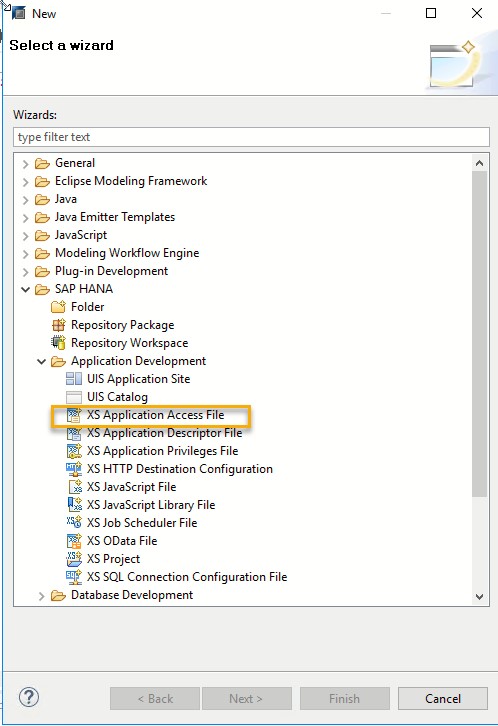
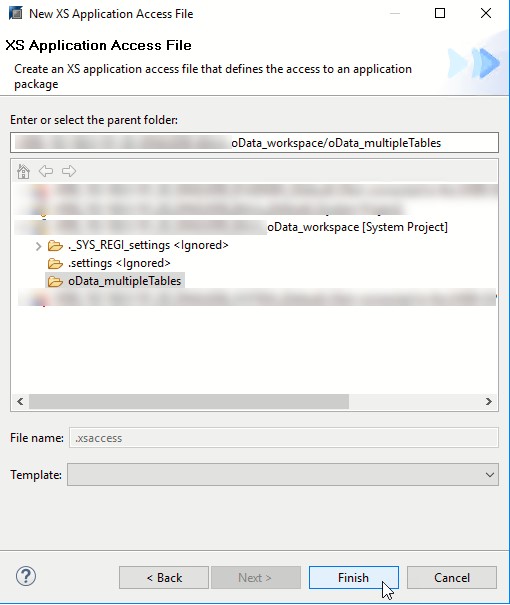
Step 4: Create an XS Application Access file.
Repository New > Other > SAP Hana > XS Application Access File.
Step 5: Open the file and enter the code given below. For the code line marked bold, please make sure that the connection name entered here matches the name of the file created earlier.
{
“exposed”: true,
“authentication”: null,
“mime_mapping”: [{
“extension”: “jpg“,
“mimetype“: “image/jpeg“
}],
“prevent_xsrf” : false,
“force_ssl”: false,
“enable_etags”: true,
“anonymous_connection”: “oData_multipleTables::testuser“,
“cors“: [{
“enabled”: true,
“allowMethods”: [“GET”,”POST”,”PUT”,”DELETE”,”HEAD”],
“allowOrigin”: [“*”]
}],
“allowHeaders”: [
“Accept”,
“Authorization”,
“Content-Type”,
“X-CSRF-Token”,
“Access-Control-Allow-Origin”
],
“exposeHeaders”: [
“x-csrf-token”
],
“cache_control”: “no-cache, no-store”
}
The file (.xsaccess) enables you to specify users who are authorized to see the content exposed by the application package and perform the actions as defined in the code above (like Get, Post, Delete etc.).Once done, activate the file.
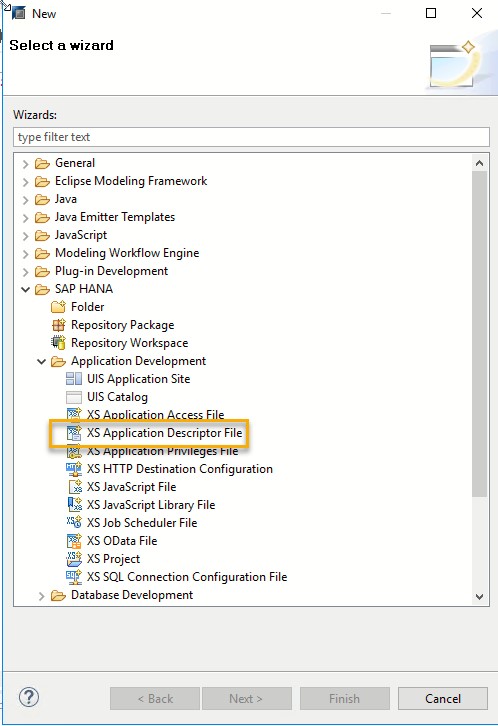
Step 6: Creation of an XS Application Descriptor File.
Repository New > Other > SAP Hana > XS Application Descriptor File.
Retain all the settings to default, create the file and leave the file description blank. Use curly braces {} to denote blank.
Activate the file.
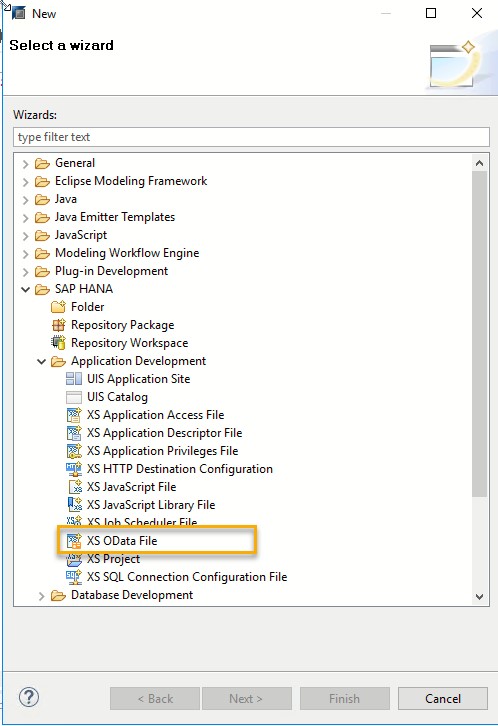
Step 7: Creation of a XS O data service.
Repository New > Other > SAP Hana > XS OData File.
Step 8: Enter the file name which you want to see when the service is exposed. In this example we have used:
Syntax:
service {“SCHEMA”.”TABLE” as “ALIAS”;}
The syntax mentioned above is for a single table. I have modified the syntax and used a single service to create the same for 3 tables as shown below.
service{“SCHEMA1”.”TABLE1″ as “Table1” navigates (“Assossiation1” as “Table1Assossiation”);
“SCHEMA1”.”TABLE2″ as “Table2”;
“SCHEMA1”.”TABLE3″ as “Table3”;
association “Assossiation1” principal “Table1” (“Primary Key”)
multiplicity “1” dependent “Table2″(“same as key in Table1”) multiplicity “*”;
association “Assossiation1” principal “Table1” (“Primary Key”)
multiplicity “1” dependent “Table3″(“same as key in Table1”) multiplicity “*”;}
Example:
service{
“DEV”.”CompanyDetails” as “Company Details” navigates (“ToDetailsAsstn” as “ASSN”);
“DEV”.”EmployeeDetails” as “Employee Details”;
“DEV”.”Salary_Details” as “Salary”;
association “ToDetailsAsstn” principal ” Company Details”(“EMPID”)
multiplicity “1” dependent “Employee Details”(“EMPID”) multiplicity “*”;
association “ToDetailsAsstn1” principal “PLANNER”(“EMPID”)
multiplicity “1” dependent “Salary”(“EMPID”) multiplicity “*”;}
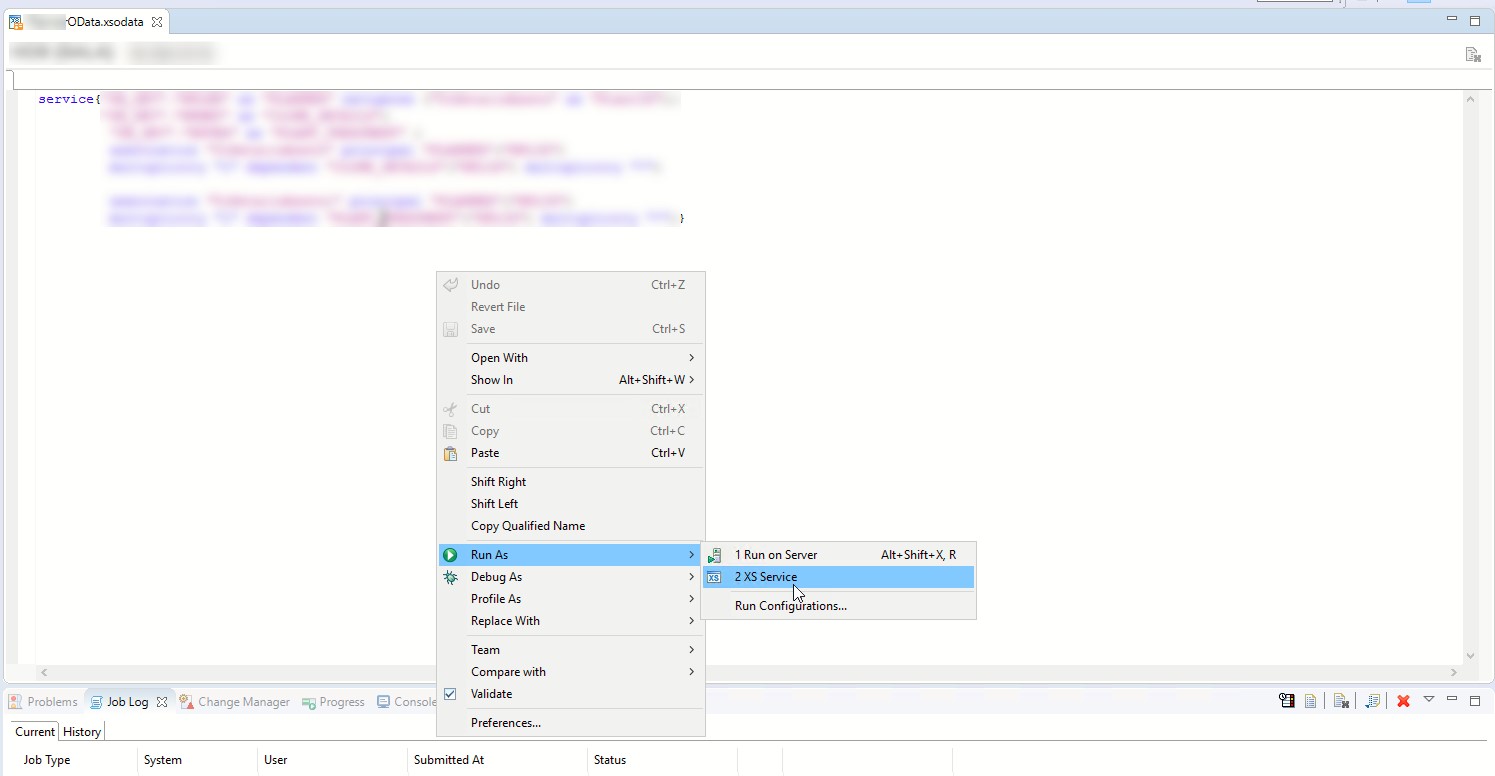
In the above example, Employee tables are joined based on the Employee ID (EMPID), and exposed as a single service. Using this service, you can create records in the individual tables as required. Now activate the oData file and run the app as shown below.
You will see the tables in the service as collections.
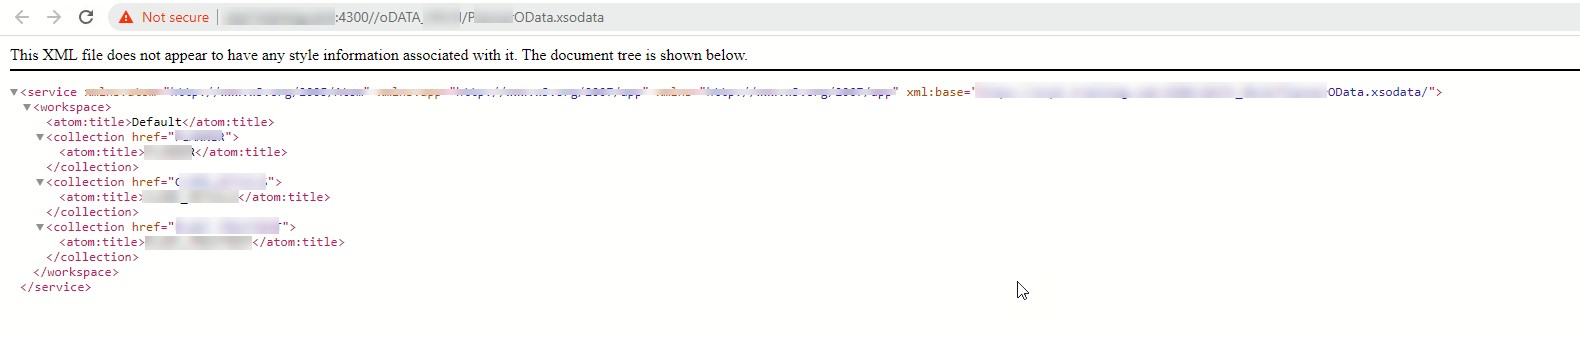
You can also see the metadata of the tables by appending “/$metadata” to the above link in the browser. Now you can expose more than 2 tables using the oData service.
For more information on oData service, get in touch with us!