| Analytics , Power BI ,

Data security is a critical aspect in any business intelligence tool. Companies have to make sure that their data is secure (both internally and externally). One way to secure data is by using dynamic row-level security wherein the data access is restricted only to a particular user or a group of users – for eg; if you want the sales manager of a particular branch to be able to access/view data specific only to his branch, you can use dynamic row level security. This blog explains how we can apply dynamic row level security (RLS) in a Power BI report.
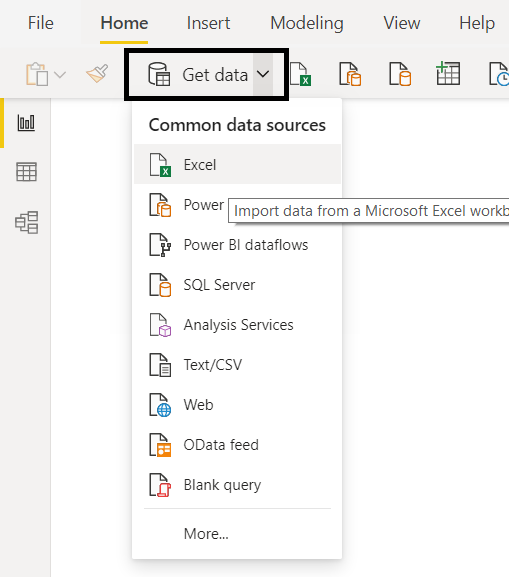
Step 1: Open Power BI Desktop and go to File > Get Data. Choose a data source (I have chosen Excel) and upload the data. There are hundreds of different data sources you connect to in Power BI.
Step 2: Once you select the data source (Excel), you will get a pop-up screen to select the file to be uploaded.

Step 3: Once you select the file, click on Open. Another pop – up screen appears listing all the Tables on left and preview of the tables on the right. Select the desired table and click on either “load” or “transform data”. Load option will directly load the data and Transform Data allows you to model your data.
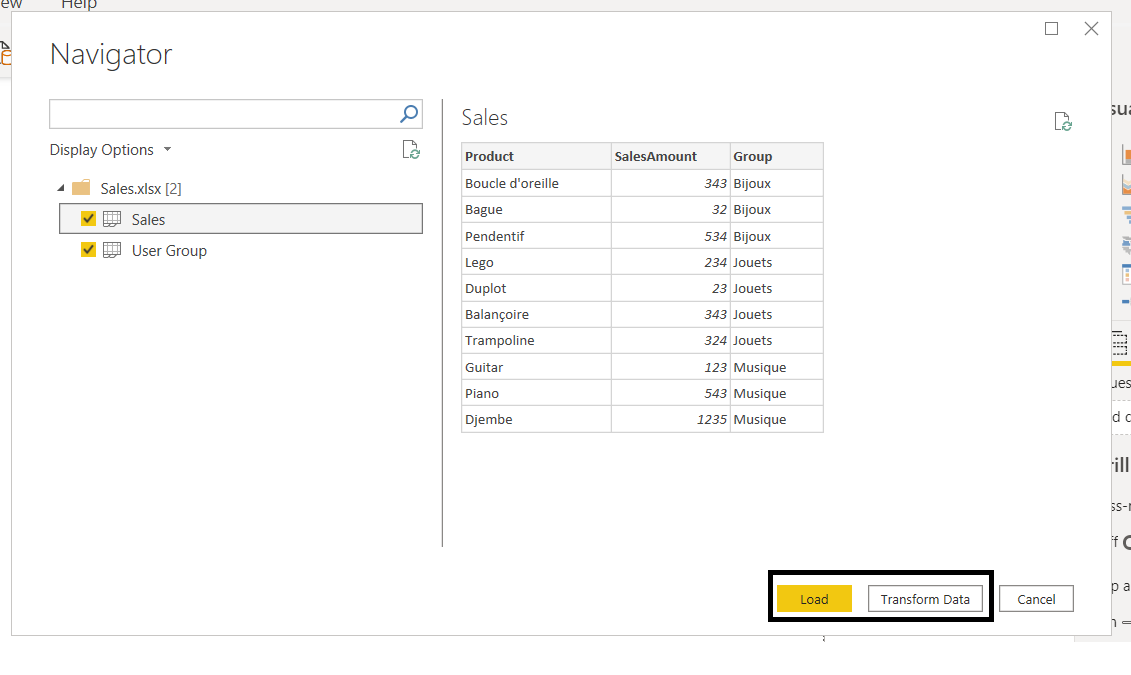
I have selected “Transform data” and a screen as shown below appears. It contains the sales and user group Table.
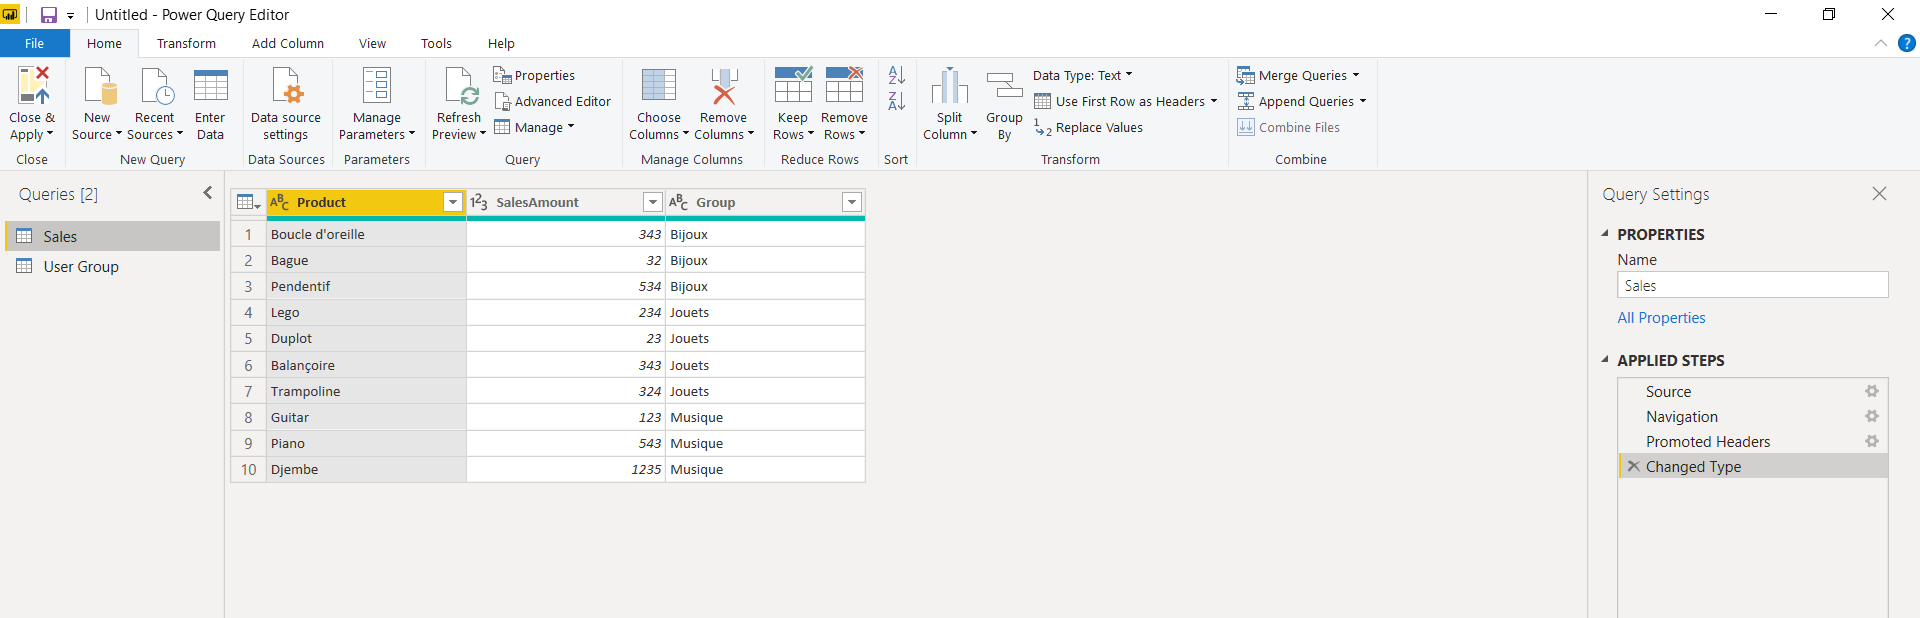
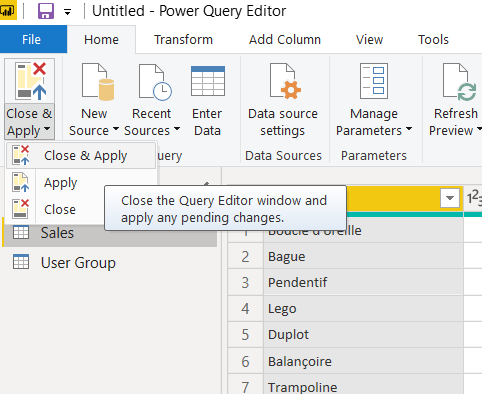
Step 4: I have made couple of changes to the data. Once done, select “Close & Apply” to save the changes made.
Step 5: We need a table which contains unique values of the group which will act as a bridge between the User Group and Sales Data Table. Since my Sales table has duplicate values, I’m creating a new table.
To create a new table go to Menu > Table Tools > New Table and add the Dax Code as below
Group = VALUES(Sales[Group])

Step 6: Now select the ✔ Icon and save the table.

Step 7: Go-to Model Tab and create a relationship between these three tables. Right click on the table and select “Manage Relationships”
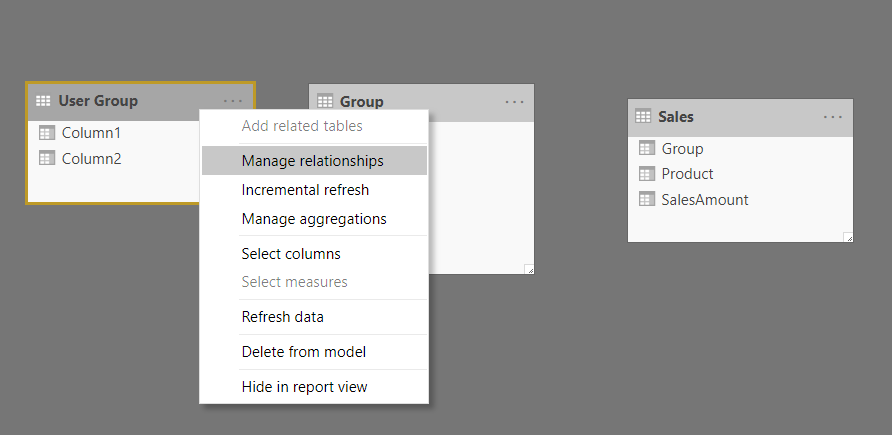
Once you select “Manage Relationships”, a pop-up screen will appear.
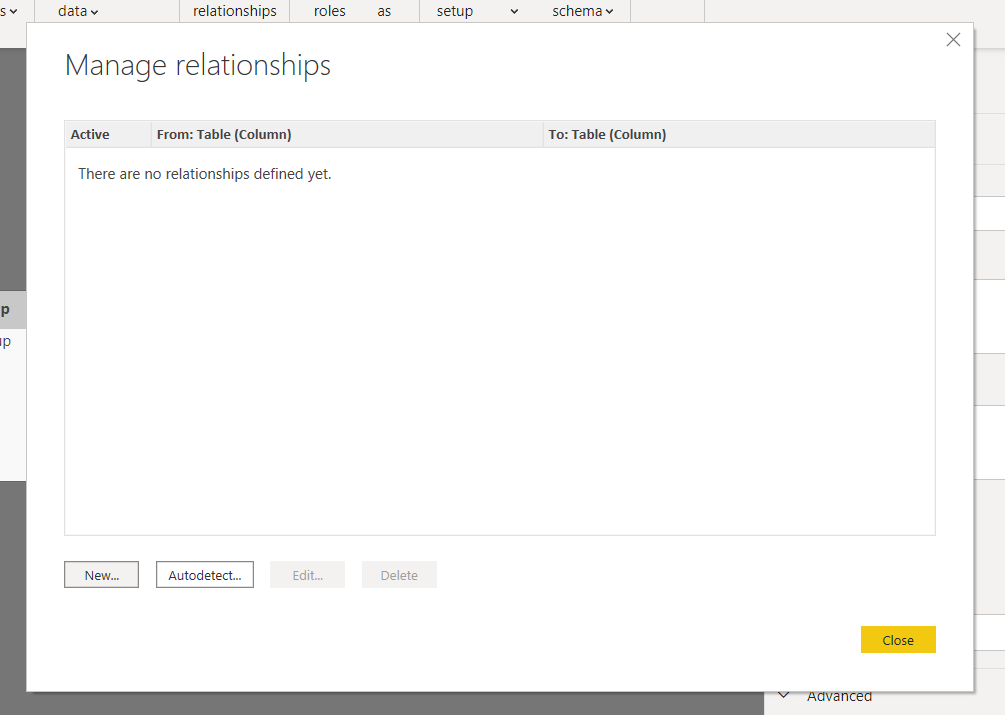
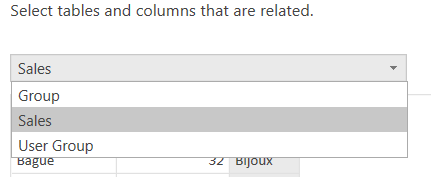
Step 8: Select “New”. It opens up a pop-up screen with the relationship details. Now select the related Tables from the drop-downs.
Step 9: Once the Tables are selected, select the column which is common for both the tables. It creates a relationship between them as seen below. Click “OK”.
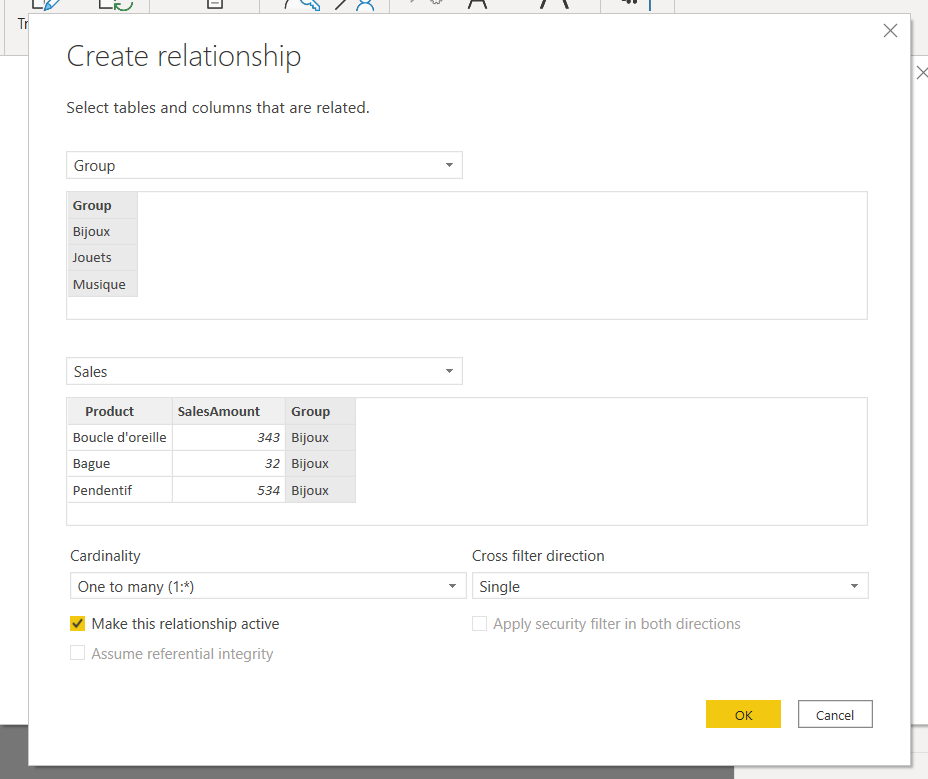
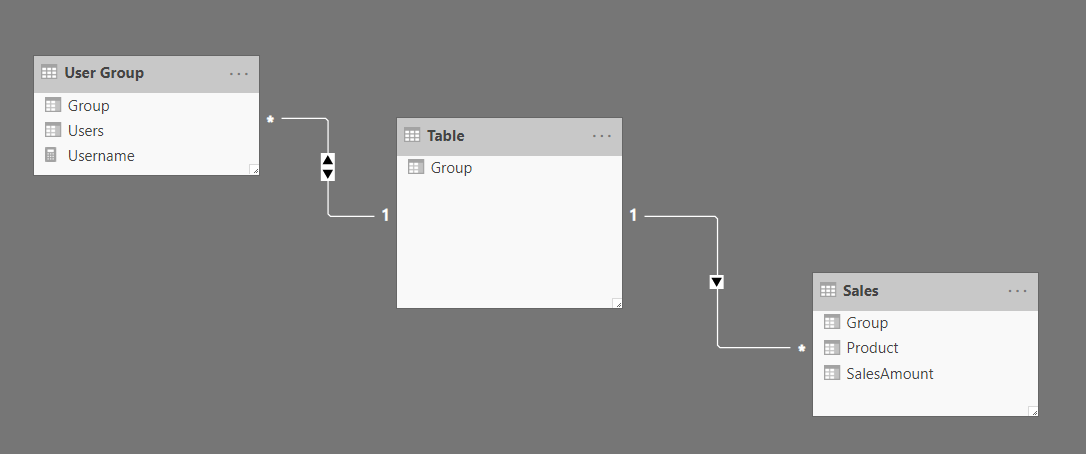
Step 10: Connect the Group table with the Sales Table as a one-many relationship. Create a relationship with user group table to group it as a many-one relationship. Set the Cross Filter Direction drop-down as both and enable the “Apply security filter in both direction “ as shown below.

The Group Table will act as bridge between the User group and Sales Table as shown below.
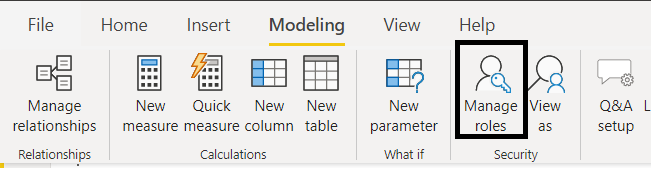
Step 11: Go to the Modeling tab and select Manage Roles.
Step 12: Create a new role, provide a name for the role. Under Tables, select the table to which you want to apply a DAX rule. In the Table filter DAX expression box, enter the DAX expression as shown below:
Users[Users] = USERPRINCIPALNAME()
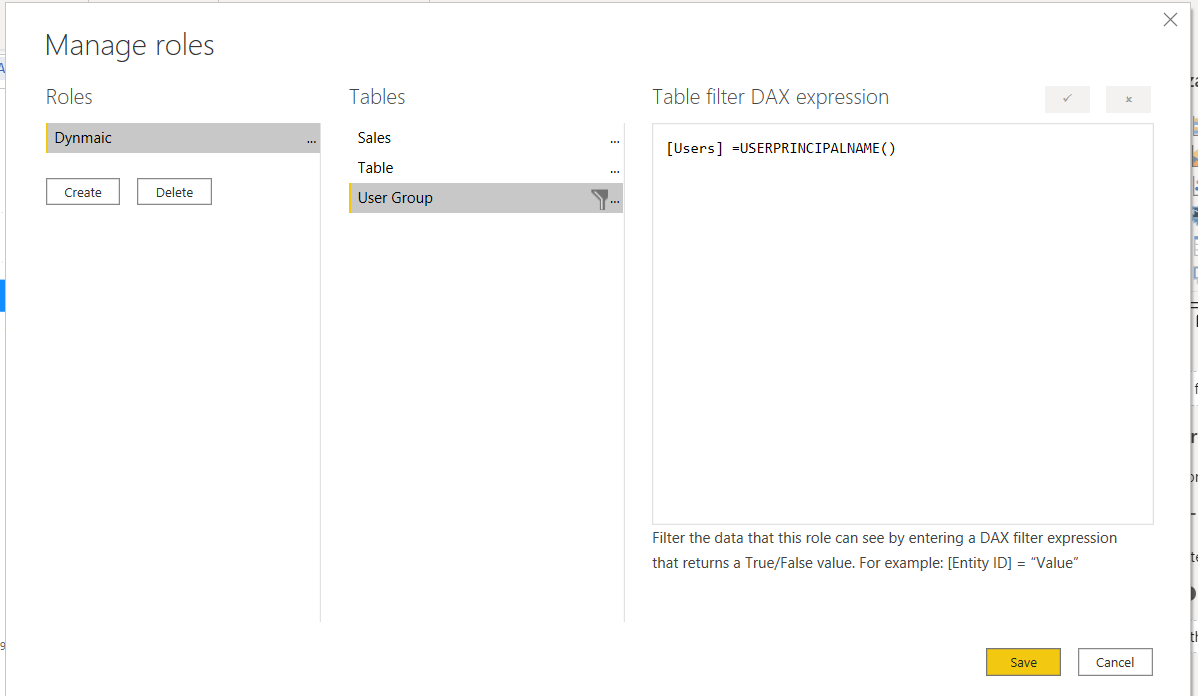
After you’ve created the DAX expression, select the check mark above the expression box to validate the expression and click on Save.
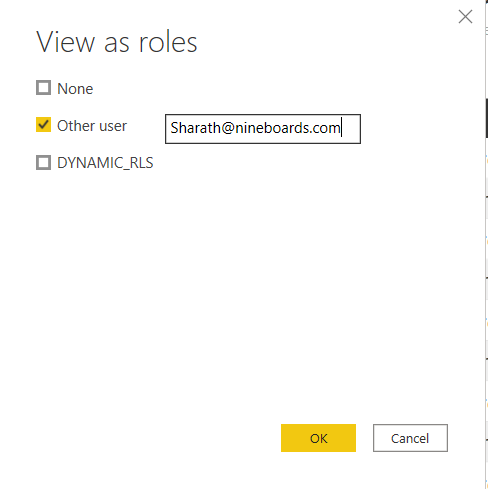
Step 13: Once you’ve created your roles, you can test the results of the roles. Select View as Roles > Other User and enter the user’s email address and click OK.
Step 14: Now save the application and publish it to the workspace. Go to Workspace > Datasets and select … and choose the security.
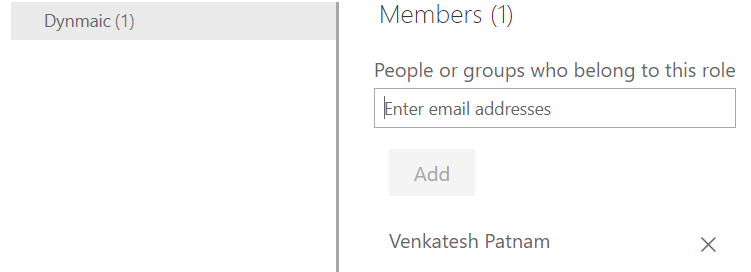
You can see the roles as shown below. Add the list of users who can access the report.
As seen below, data is restricted to select users.
Note: While using Power Embedded BI, you need not add the users in the Roles.

Note: In order to view the dynamic row level security in a report, make sure the user is a “viewer” in your workspace. Only viewers added under Roles can view the Dashboard
Dynamic RLS approach is based on email address of the user accessing the report and it limits the dataset to only that particular user/group of users. This approach greatly reduces the number of Power BI reports and security roles that we need to create and also simplifies the management of the groups assigned to security roles once the report is published to Power BI.
Limitations: