| Analytics , Looker ,
Looker is a Business Intelligence platform that empowers organizations to create powerful data experiences and get more value out of their data. The data in Looker is modeled using LookML which is one of the key differentiating features of Looker. With LookML, you can define the relationships between datasets and explore the data directly thus making the tool very agile and powerful. The modeled data is then consumed into Looker to create stunning visualizations and dashboards. Looker can connect to any SQL database and supports 50+ SQL dialects. In this blog we are going to see how we can integrate Looker with SAP HANA database.
Prerequisites:
Before you begin, you would require the following connection information:
SAP HANA System Details :
Setting up the Connection and Data Source:
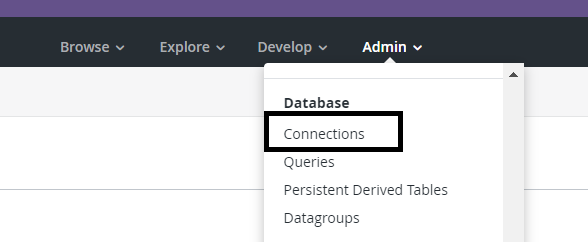
Step 1: Login to Looker. Go-to Admin>Database>Connections.
Step 2: In the Connections Page , select “New Connection” to create a new SAP HANA connection in Looker.

Step 3: Enter the name of the connection and select SAP HANA from the Dialect dropdown.

Step 4: Enter the name of the server that hosts the database you want to connect to, the port number and name of the database.

Step 5: Enter your username and password. Please note that SSO(Single Sign On) is not available in Looker. 
Step 6: In Looker, we can maintain Persistent Derived Tables(PDT) in a server. In order to enable that we need to provide the the JDBC parameters (host, port, database, username, password, schema, and additional parameters) in the PDT Overrides column. It is advisable to create a separate database user for PDT processes. You can also use PDTs in your model by assigning User Attributes to your database login credentials. You can enter the JDBC Connection String parameters in the “Additional Params” dialog box.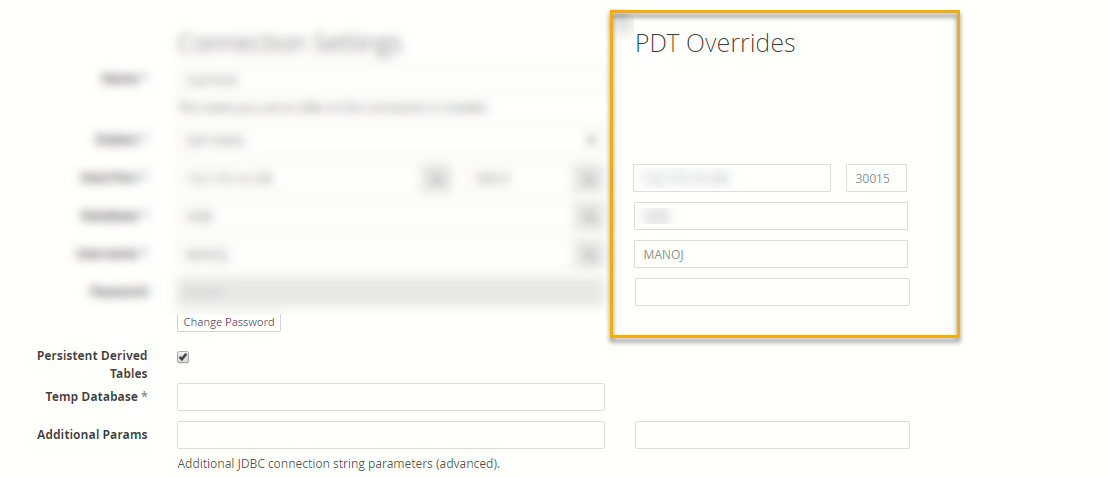
Step 7 : Enter the value for PDT and Data Maintenance schedule. The default value is “*/5 * * * *” . This means that the connection has been scheduled to check every 5 mins for any triggers (5 is the maximum frequency). 
Here are some additional expressions that can be used, based on your database schedule:
| expression | Definition |
|---|---|
*/5 8-17 * * MON-FRI |
Check datagroups and PDTs every 5 minutes during business hours, Monday through Friday |
*/5 8-17 * * * |
Check datagroups and PDTs every 5 minutes during business hours, every day |
0 8-17 * * MON-FRI |
Check datagroups and PDTs every hour during business hours, Monday through Friday |
1 3 * * * |
Check datagroups and PDTs every day at 3:01am |
Step 8: Enter the maximum number of connections that this particular connection can allow at the same time (this value must be between 5 and 100). This allows you to set the maximum number of connections that Looker can establish with your database and the number of simultaneous queries that Looker can run. If your database configuration limits the number of connections, make sure that the value entered in Max Connections is equal to or less than your database’s limit. 
If a user requests for connections greater than the value given in “Max Connections” setting, the requests will be wait listed until others requests are executed.
Step 9: Enter the Connection Pool Timeout. This value sets the timeout for the query to the database. The limits needs to be set as directed in the screenshot below. 
Step 10: Check on the SQL Runner Precache check box (as shown below). This option allows all the table information to be loaded into the SQL Runner as soon as you select a connection and schema. This enables SQL Runner to quickly display table columns right after you select a table. 
Once the above steps are done, test the connection by selecting “Test These Settings” . Once the testing is successful, click on “Add Connection“.
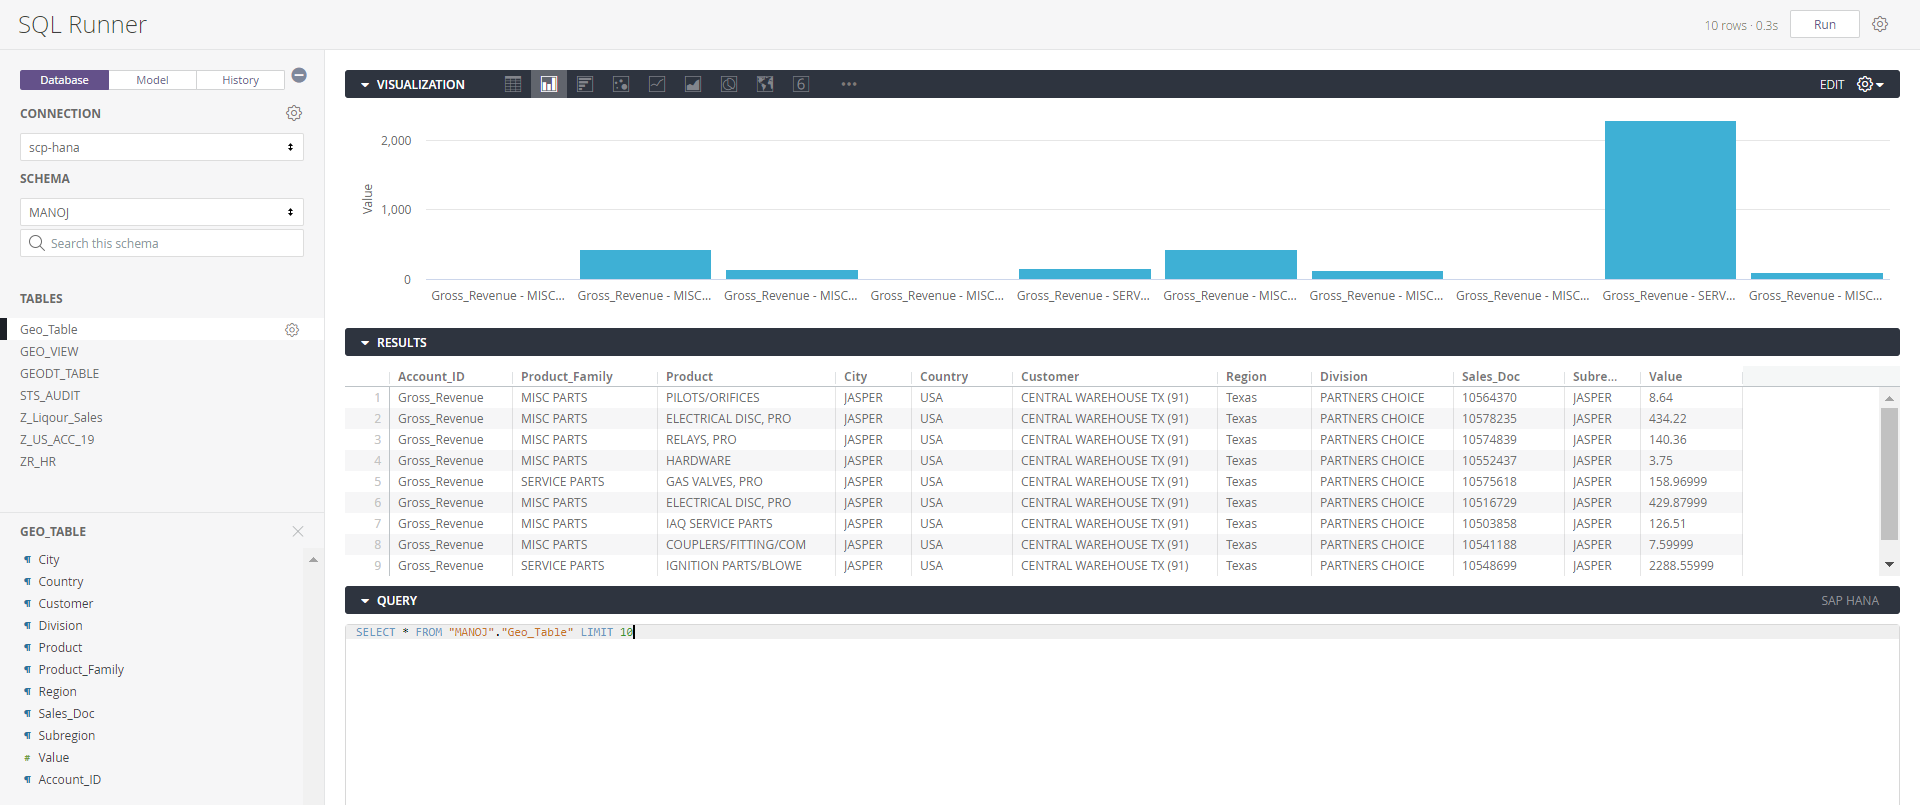
Thus SAP HANA Connection is added to Looker. We can access this connection by going to Develop>SQL Runner.
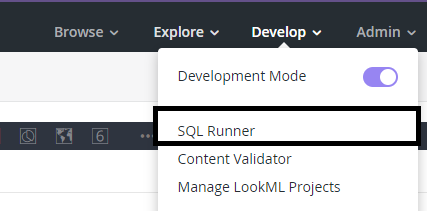
Select Database from the menu on the top left and select the SAP HANA Connection you created. You can see the schema and the tables as shown below.